GLSL 的基础用法与 Raymarching
Rratic
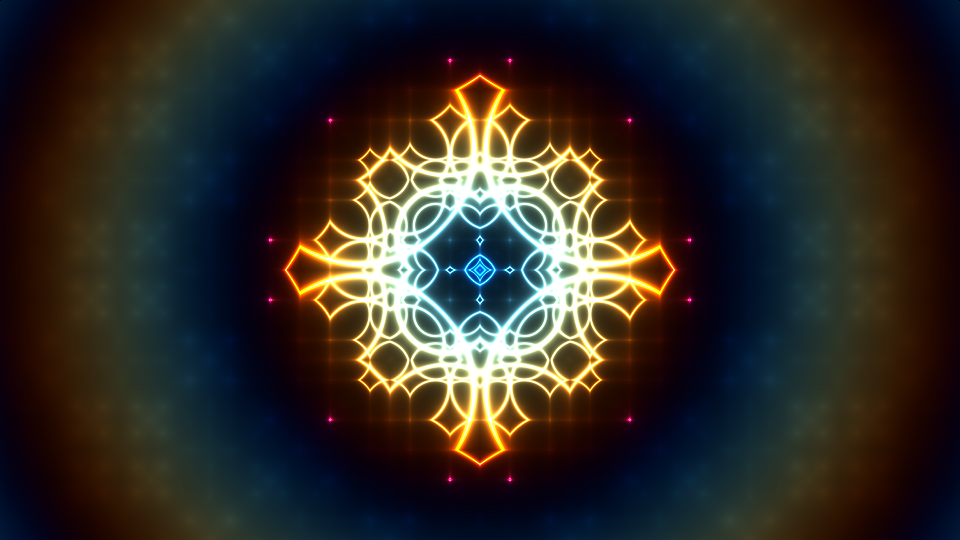
参考了 kishimisu 的视频教程。
以下均采取平台 Shadertoy 的配置,使用 GLSL 语言。完整的 GLSL 手册见于 GLSL ES;Shadertoy 平台额外提供了全局变量 iMouse 等,请参考其 GLSL 帮助。
基本效果
着色器的入口函数是 mainImage,接受参数包括 vec2 类型的 fragCoord 和 vec4 类型的 fragColor. 其中 fragColor 用 out 修饰,表示它的值在函数内的改变会影响到函数外(我不清楚为什么不把它改成返回值形式)。
vec2, vec3 与 vec4 是内置的向量类型。一个语法糖是向量下标可以用 xyzw, rgba 与 stpq 三套下标来访问,并可无缝衔接。例如对 vec3 类型的 a, a.xyxy 的结果是 vec4 类型的。
从一个简单的例子开始(假定读者了解 C 家族语言的大致语法):
// 颜色渐变调色板函数
vec3 palette(float t, vec3 a, vec3 b, vec3 c, vec3 d) {
	return a + b * cos(6.28318 * (c * t + d));
}

void mainImage(out vec4 fragColor, in vec2 fragCoord)
{
    // 归一化,使坐标范围 -1 ~ 1
    vec2 uv = fragCoord / iResolution.xy * 2.0 - 1.0;

	// 保证图像不被拉伸
	uv.x *= iResolution.x / iResolution.y;

	// 到原点的距离
	float d = length(uv);

	// note: SDF 有向距离场:一个点到一个闭曲线的最短距离(外部为正,内部为负)
	// d = d - 0.5;

	vec3 col = palette(d + iTime,
		vec3(0.5, 0.5, 0.5),
		vec3(0.5, 0.5, 0.5),
		vec3(1.0, 1.0, 1.0),
		vec3(0.263, 0.416, 0.557));

	// 随时间变化
	d = sin(d*8. + iTime)/8.;

	d = abs(d);

	// 平滑过渡
	// d = smoothstep(0.0, 1.0, d);

	d = 0.02 / d;

	col *= d;

	fragColor = vec4(col, 1.0);
}
可以更进一步:
void mainImage(out vec4 fragColor, in vec2 fragCoord)
{
    vec2 uv = (fragCoord * 2.0 - iResolution.xy) / iResolution.y;
	vec2 uv0 = uv;
	vec3 finalColor = vec3(0.0);

	// 迭代
	for (float i = 0.0; i < 4.0; i++) {
		// 区域重复
		// uv = fract(uv * 2.0) - 0.5;

		// 非整数引入更多变化
		uv = fract(uv * 1.5) - 0.5;

		// float d = length(uv);
		float d = length(uv) * exp(-length(uv0));

		vec3 col = palette(length(uv0) + iTime * .4);

		d = sin(d * 8. + iTime) / 8.;
		d = abs(d);

		// d = 0.02 / d;

		// 降低暗部颜色
		d = pow(0.01 / d, 1.2);

		finalColor += col * d;
	}

	fragColor = vec4(finalColor, 1.0);
}
Raymarching
一种 3D 技术是将场景分割成大量的三角形,渲染的主要流程为:
- vertex shader 将 3D 坐标转化为画布坐标
- rasterization 光栅化,判断三角形覆盖哪些像素
- fragment shader 给这些像素填色
另一种技术是 ray-marching,使用步进的方法让光线行进直到击中对象(不同于直接求交的 ray-tracing),由于巨大的计算开销,通常用于渲染体积云、局部光照和数学模型。
可以参考 Shadertoy: Raymarching in Raymarching 的演示,以及这个关于有向距离函数的文章。
从一个最简单的例子开始:
// Sphere SDF
float sdSphere(vec3 p, float s) {
	return length(p) - s;
}

// distance to scene
float map(vec3 p) {
	vec3 spherePos = vec3(sin(iTime) * 3., 0, 0);
	float sphere = sdSphere(p - spherePos, 1.);
	return sphere;
}

void mainImage(out vec4 fragColor, in vec2 fragCoord)
{
	vec2 uv = (fragCoord * 2. - iResolution.xy) / iResolution.y;

	vec3 ro = vec3(0, 0, -3); // ray origin
	vec3 rd = normalize(vec3(uv, 1)); // ray direction
	vec3 col = vec3(0);

	float t = 0.; // distance travelled

	for (int i = 0; i < 80; i++) {
		vec3 p = ro + rd * t; // position
		float d = map(p);
		t += d;

		// col = vec3(i) / 80.;

		if (d < .001 || t > 100.) break; // early stop
	}

	col = vec3(t * .2);

	fragColor = vec4(col, 1);
}
可以继续添加其它形状,并组合。组合逻辑如下:
float opUnion(float d1, float d2)
{
    return min(d1, d2);
}
float opSubtraction(float d1, float d2)
{
    return max(-d1, d2);
}
float opIntersection(float d1, float d2)
{
    return max(d1, d2);
}
float opXor(float d1, float d2)
{
    return max(min(d1, d2), -max(d1, d2));
}
组合逻辑可以改为平滑过渡的版本:
float opSmoothUnion(float d1, float d2, float k)
{
    float h = clamp(0.5 + 0.5*(d2-d1)/k, 0.0, 1.0);
    return mix(d2, d1, h) - k*h*(1.0 - h);
}

float opSmoothSubtraction(float d1, float d2, float k)
{
    float h = clamp(0.5 - 0.5*(d2+d1)/k, 0.0, 1.0);
    return mix(d2, -d1, h) + k*h*(1.0 - h);
}

float opSmoothIntersection(float d1, float d2, float k)
{
    float h = clamp(0.5 - 0.5*(d2-d1)/k, 0.0, 1.0);
    return mix(d2, d1, h) + k*h*(1.0 - h);
}
缩放、旋转可以通过数学方法得到:
// float box = sdBox(q * 4., vec3(.75)) / 4.;

mat2 rot2D(float angle) {
	float s = sin(angle);
	float c = cos(angle);
	return mat2(c, -s, s, c);
}

// p.xy *= rot2D(iTime);

vec3 rot3D(vec3 p, vec3 axis, float angle) {
	// Rodrigues' rotation formula
	return mix(dot(axis, p) * axis, p, cos(angle))
		+ cross(axis, p) * sin(angle);
}